
저번주의 내용을 정리하면, 마크업 부분을 구매하고 ERD를 설계했으며 각 자 할일을 나눈뒤 GitHub를 통해 협업을 관리하기로 하였다.
분담 된 나의 업무는 댓글 관리쪽 백엔드 설계를 담당하게 되었다.
프로그래밍의 반은 설정이라고 얼핏 들은 것 같은데, 이번에도 Spring과 AWS RDS EC2를 연결하는데 애를 먹었다.
먼저 MysqlWorkbench에서 AWS를 연결하였다.
다른 클라우드 서비스는 사용 경험이 있지만 AWS 서비스는 처음 사용하는 것이라 조금 막막했지만 팀원들의 도움을 받아서 잘 설정할 수 있었다.
AWS의 RDS는 Mysql로 설정해서 만들어 두었고, 보안그룹은 실제 서비스를 제공하지는 않기 때문에 모두 열어두었다.
먼저 mysql workbecnch에서 AWS RDS로 엔드포인트와 id , pwd를 입력하여서 연결시켜준다.
그 후 확인해보면 우리 프로젝트인 Meu라는 프로젝트와 테이블이 잘 구성되어있는 것을 확인 할 수 있었다.

이제 우리가 사용할 Intellij IDE에 AWS 서비스를 연결하고 , Spring boot에서 DB에 접근하도록 설정해야 한다.
이를 위해서는 2가지의 세팅이 필요한데, 아직 나도 완벽하게 이해는 못했지만 정리하면 다음과 같다.
1. IDE에서 접근하고 사용할 수 있도록 DB Browser를 통해 접근 설정을 한다.
2. Spring Framwork에서도 사용 가능하도록 application.properties를 설정한다.
나처럼 IDE 자체에 DB Brower가 설치가 안된 경우가 종종 있는 것 같다.
그런 경우에는 아래의 사이트에 접속해서 플러그인을 설치한 뒤에 설정을 완료하면 사용이 가능하다.
https://plugins.jetbrains.com/plugin/1800-database-navigator
Database Navigator - IntelliJ IDEs Plugin | Marketplace
Database development, scripting and navigation tool.
plugins.jetbrains.com
- properties 파일-
spring.datasource.url=jdbc:mysql://db-meu.chsdyx0zxa2z.ap-northeast-2.rds.amazonaws.com:3306/Meu?characterEncoding=utf8
spring.datasource.username=admin
spring.datasource.password=12341234
spring.datasource.driver-class-name=com.mysql.cj.jdbc.Driver
spring.sql.init.mode=always
위의 설정을 한 뒤 DB Browser를 통해서 Connection을 설정한 뒤 콘솔창을 이용해 테스트한 결과가 잘 나온다면 성공적으로 설정이 마무리 됬다고 할 수 있다.
피드 설계
설정을 마치고 본격적으로 Comment쪽을 개발하기 앞서, 마크업을 확인하고 어떤식으로 설계할지 감을 잡기로 하였다.
마크업은 아래와 같다.
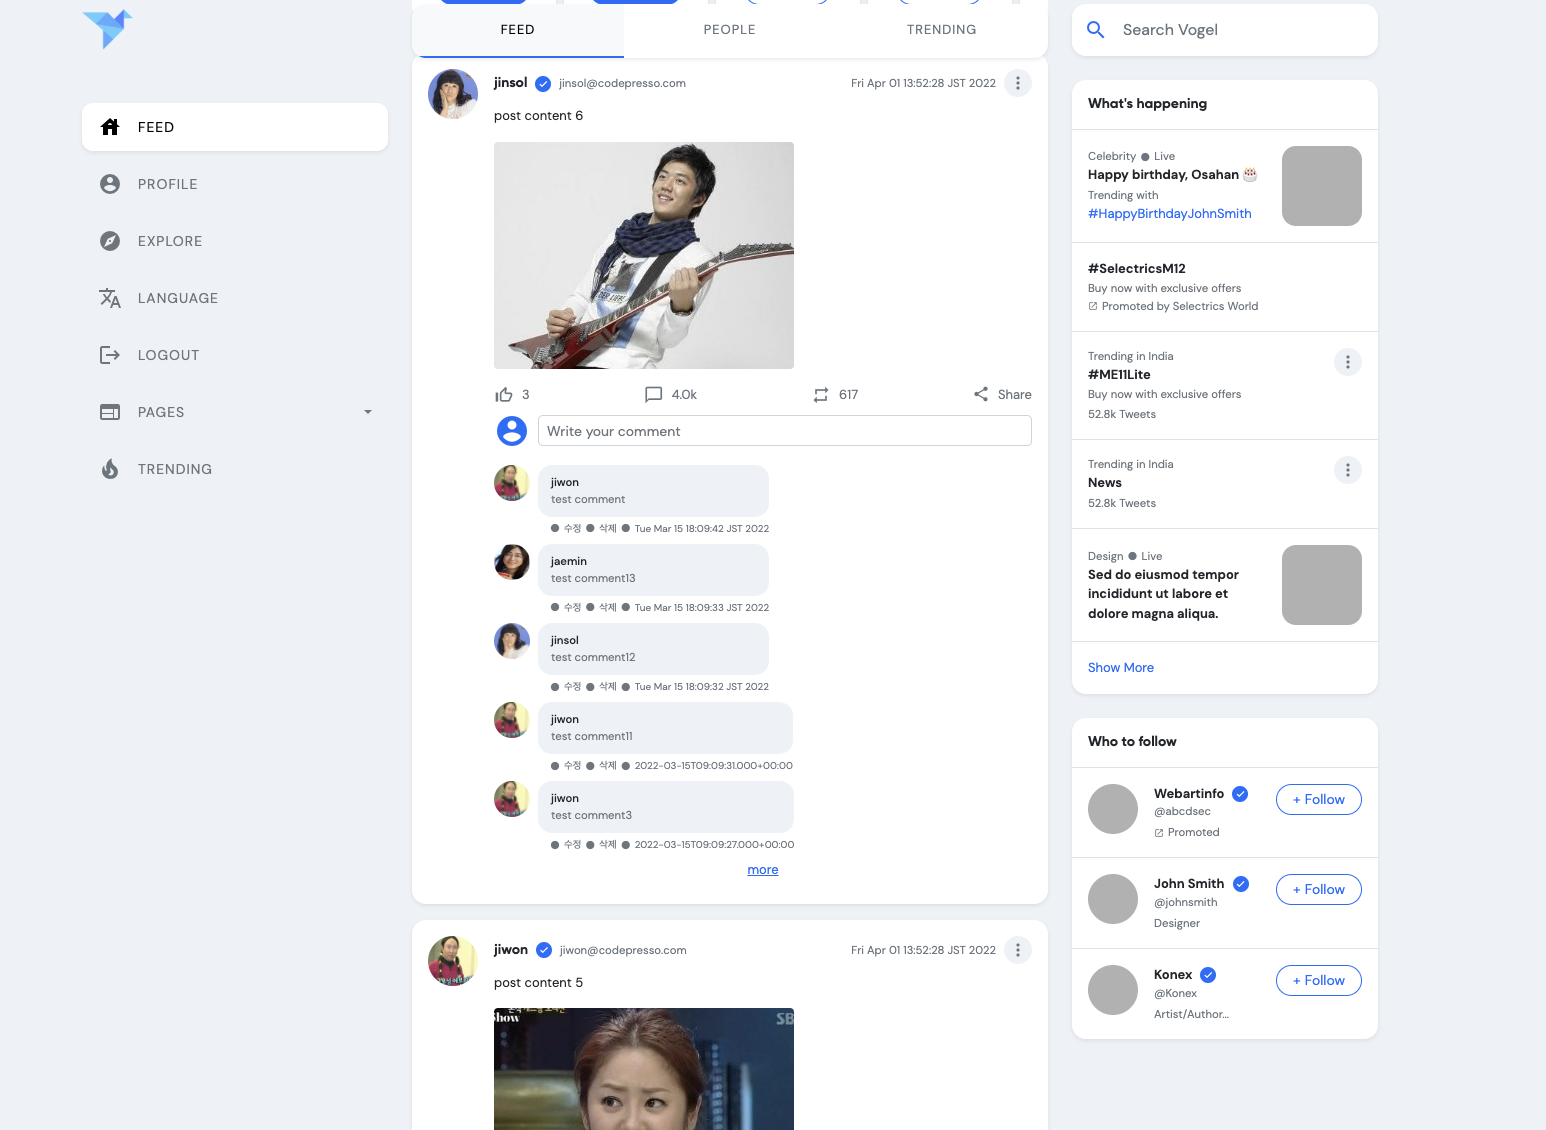
피드 화면에서 보여지는 댓글 창 |
 피드 화면에서 게시물을 클릭한 뒤 게시물에서 보여지는 댓글창 |
일단 먼저 계획한 것은 DB쪽을 설계하는 것인데, Post마다 댓글들이 할당되어 있고, 각 댓글에는 작성자의 정보가 필요하다.
그리고 피드에서 보여지는 댓글창은 2~3개의 제한을 걸어야 하고, 게시물에서 보여지는 댓글창은 모든 댓글이 보여지도록 설계해야한다.

이전에 구상해논 ERD를 살펴보면 댓글 테이블에는 댓글이 속한 PostId와 댓글 작성자의 정보를 가진 UserId, 나머지는 댓글의 속성들을 구현했었다.
따라서 댓글이 보여지는 데 보여주는 구분은 PostId로 하고, 댓글에 속할 정보로는 댓글의 원래 속성과 사용자 테이블의 닉네임, 프로필사진이 존재한다.
위 같은 분석을 토대로 먼저 피드에서 포스트 밑에 보여질 2~3개의 댓글들을 보여지게끔 로직을 설계하려 하였다.
먼저 mybatis 설정 파일에 새로운 commnet-mapper 자원을 할당 한 뒤 아래와 같이 sql문을 통해 xml문을 기술하였다.
<select id="findByCommentOfPostIdInFeed" resultType="com.codepresso.meu.vo.Comment">
    SELECT c.commentId, c.userId, c.postId, c.content, c.createdAt, c.updatedAt,
        u.nickname, u.profileImg
    FROM comment as c
    JOIN user as u
    ON c.userId = u.userId
    WHERE c.postId=#{postId}
    LIMIT 3;
</select>
commnet의 정보에 추가로 comment 작성자에 대한 닉네임과 프로필 이미지를 가져온다. 이 때, postId가 일치하는 postId에 해당되는 댓글들만 3개씩 가져오도록 구성하였다.
그리고 서비스 단에서 포스트 하나의 3개의 Comment객체의 리스트를 반환한다.
public List<Comment> getCommentListByPostInFeed(Integer postId){
    return commentMapper.findByCommentOfPostIdInFeed(postId);
}
그 후 컨트롤러에서는 그렇게 얻어진 리스트를 받아온 뒤, 새로운 ResponseDto 리스트로 초기화 한 뒤,
프로필 사진과 닉네임 그리고 commnet 정보를 담은 dto들을 반환한다.
    @GetMapping("/comment")
    public List<CommentResponseDto> getCommentListByPost(@RequestParam("postId") Integer postId){
        List<Comment> comments = commentService.getCommentListByPostInFeed(postId);
        List<CommentResponseDto> commentResponseDtos = new ArrayList<>();
        for(Comment comment : comments){
            commentResponseDtos.add(new CommentResponseDto(comment));
        }
        return commentResponseDtos;
    }
}
PostMan을 통해서 postId가 3인 댓글들과 댓글을 쓴 사람의 닉네임 프로필 사진이 알맞게 나오는지 확인해보니 잘 나오는 것 같다.

그 다음으로 이 comment json을 feed에서 바로 보여지기 위해서 post단에서 송출되는 json과 합쳐놓았다.
그렇게 되면 index.html에 접속했을 경우 아래와 같은 json을 응답반게 된다.
[{
	"postId": 8,
	"userId": 4,
	"content": "U.S. Energy Corp.",
	"createdAt": null,
	"email": "jinsol@codepresso.com",
	"nickname": "jinsol",
	"commentListByPost": [{
		"commentId": 12,
		"userId": 2,
		"postId": 8,
		"content": "test comment",
		"updatedAt": "2022-03-15T09:09:42.000+00:00",
		"createdAt": "2022-03-15T09:09:42.000+00:00",
		"nickname": "jaemin",
		"profileImg": "http://dummyimage.com/163x100.png/ff4444/ffffff"
	}]
}, {
	"postId": 7,
	"userId": 4,
	"content": "First Internet Bancorp",
	"createdAt": null,
	"email": "jinsol@codepresso.com",
	"nickname": "jinsol",
	"commentListByPost": [{
		"commentId": 14,
		"userId": 1,
		"postId": 7,
		"content": "test comment",
		"updatedAt": "2022-03-15T09:09:42.000+00:00",
		"createdAt": "2022-03-15T09:09:42.000+00:00",
		"nickname": "jinwoo",
		"profileImg": "http://dummyimage.com/246x100.png/cc0000/ffffff"
	}, {
		"commentId": 11,
		"userId": 1,
		"postId": 7,
		"content": "test comment",
		"updatedAt": "2022-03-15T09:09:42.000+00:00",
		"createdAt": "2022-03-15T09:09:42.000+00:00",
		"nickname": "jinwoo",
		"profileImg": "http://dummyimage.com/246x100.png/cc0000/ffffff"
	}]
}, {
	"postId": 6,
	"userId": 3,
	"content": "Summer Infant, Inc.",
	"createdAt": null,
	"email": "jiwon@codepresso.com",
	"nickname": "jiwon",
	"commentListByPost": [{
		"commentId": 10,
		"userId": 2,
		"postId": 6,
		"content": "test comment",
		"updatedAt": "2022-03-15T09:09:42.000+00:00",
		"createdAt": "2022-03-15T09:09:42.000+00:00",
		"nickname": "jaemin",
		"profileImg": "http://dummyimage.com/163x100.png/ff4444/ffffff"
	}]
}, {
그리고 프론트쪽은 mustach, ajax를 이용하여 개발을 진행했다.
post쪽의 게시글은 다른 팀원분이 개발을 진행하고 AWS S3를 통해서 이미지 서버를 연동하여서 처리를 하였다.
그 뒤 댓글의 입력과 추가 수정, 삭제를 구현하였다